Sometime last fall, I got it in my head that my next major sewing project should be an entirely hand-embroidered three-piece suit. I became increasingly attached to this idea despite the fact that I:
Do not really know how to embroider
Possess only some of the sewing skills required to make a suit
Have never pulled off a project of this scale before
I began to save notes in my phone of links to relevant sewing patterns and fabrics, and I made plans to meet up with a friend who is a skilled embroiderer to have her teach me a few basic stitches (thanks, Emily!!). One of the inspirations for the project was the embroidery work of Yumiko Higuchi, so I began by attempting a few of the patterns from her books as practice. I am particularly attracted to Higuchi’s chain-stitched animals and household objects, and found them pretty achievable for a beginner like me.
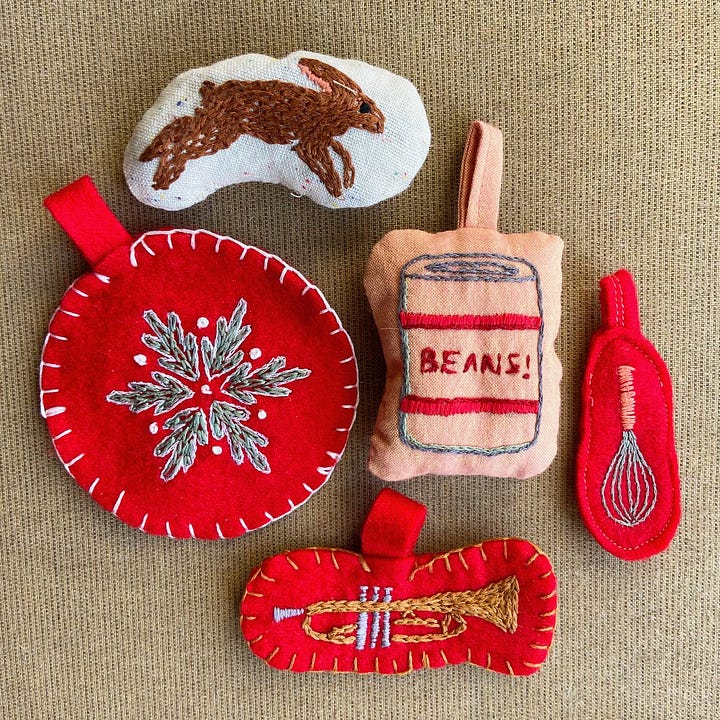
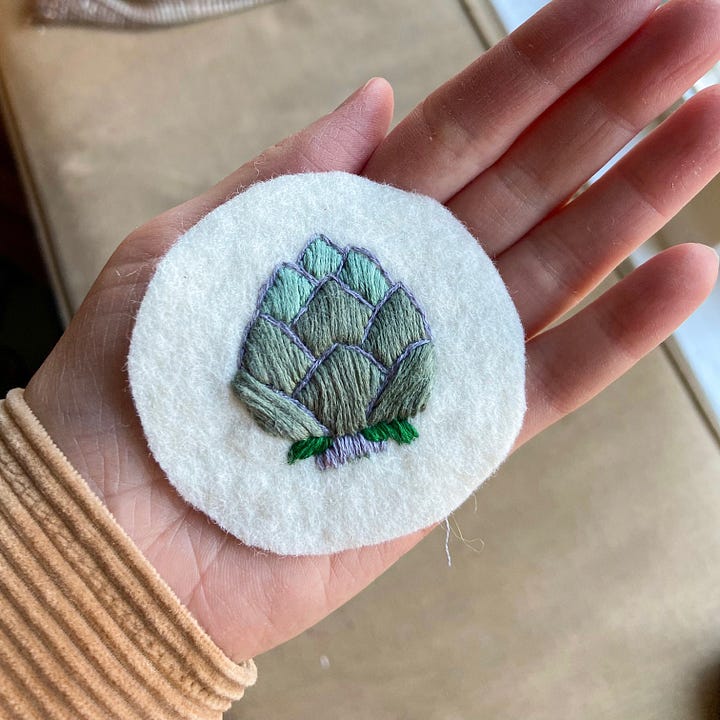
After embroidering a handful of Christmas ornaments, I felt confident that I enjoyed the process enough to, you know, spend hundreds more hours doing it. So I began planning the magic suit in earnest.
Fabric Sourcing
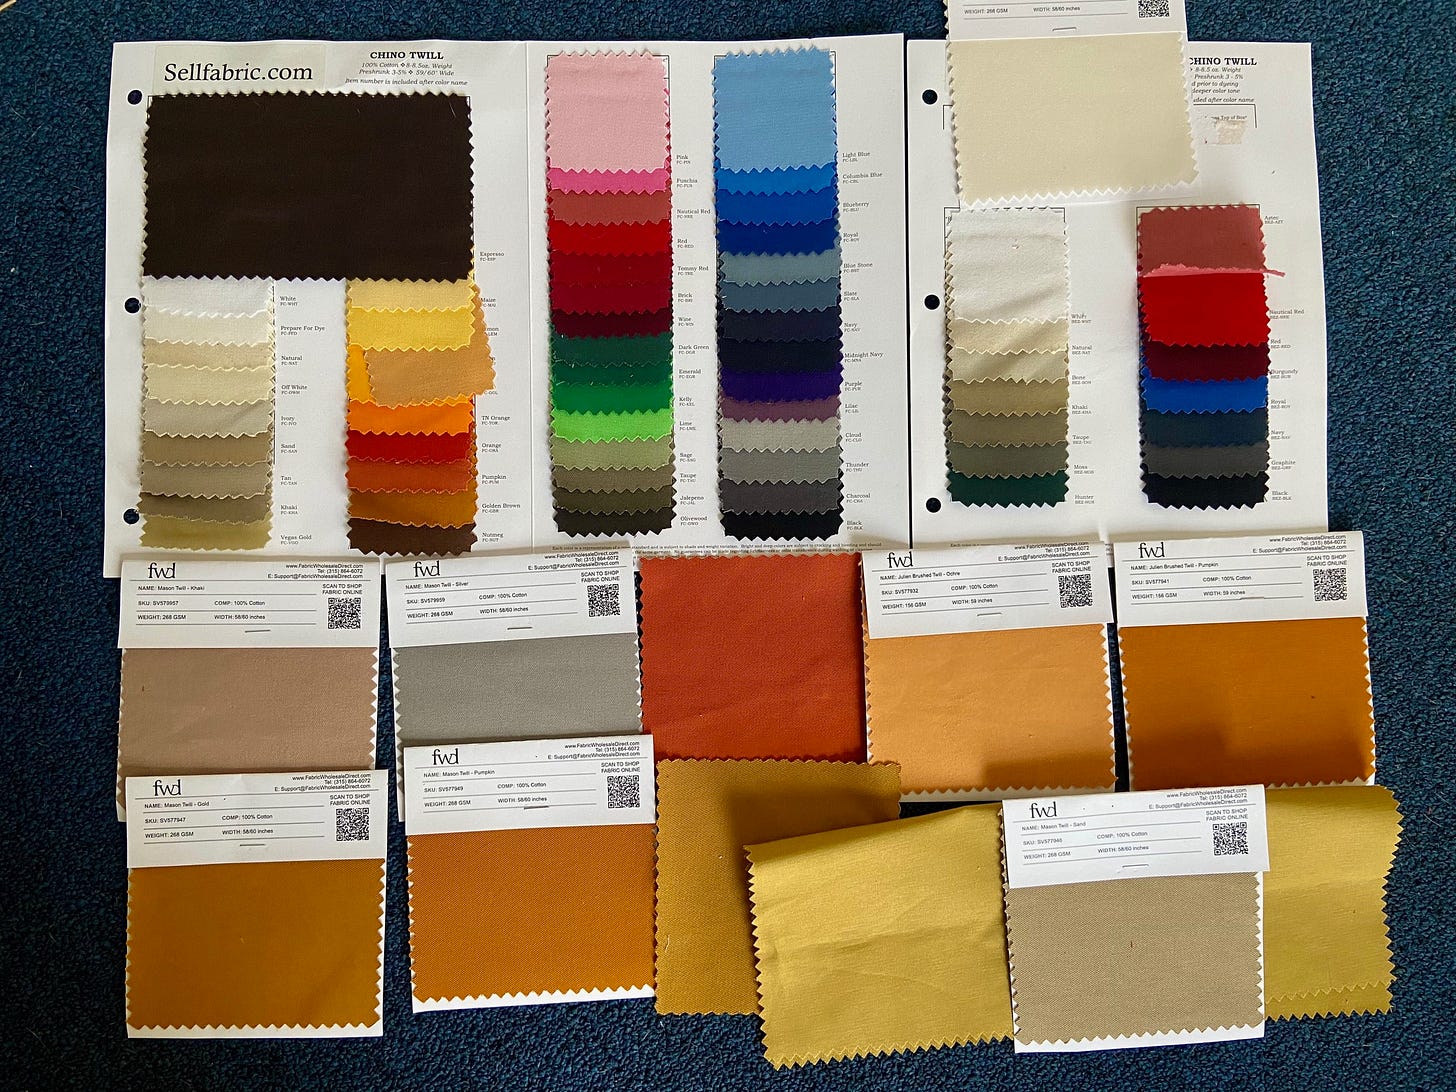
I envisioned a camel brown twill suit with a waistcoat, trousers, and a jacket. In search of the perfect fabric, I ordered a bunch of twill swatches. It turned out that none of them matched the exact mythical shade of brown I was imagining, so I ultimately chose a slightly darker, nutmeg-colored 100% cotton brushed twill. I thought the matte finish would best offset the colorful embroidery and it’s a gorgeous warm brown that goes with most of my existing wardrobe. So I ordered 10 yards1 of it from a random online fabric store called SellFabric.com2 that has a great selection of twills and, apparently, decent SEO.
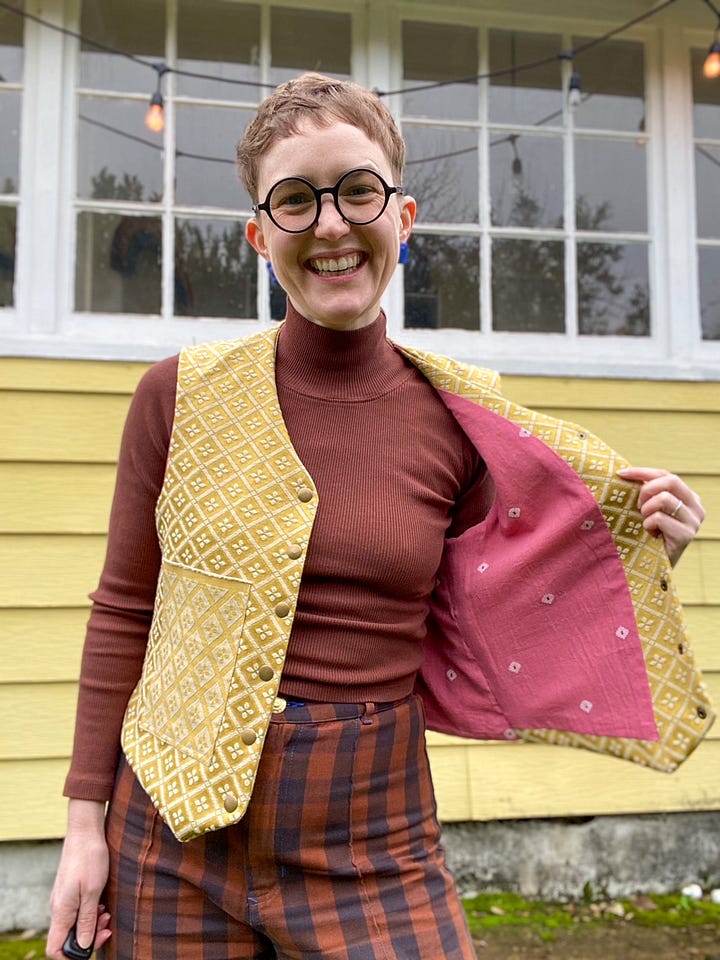
I initially thought I would line the suit with silk or a silk/cotton blend. But when I began pricing out lining fabrics and researching the pros and cons of different materials, I decided to use a lightweight cotton instead. Cotton is definitely cheaper, and it also tends to be more durable. It will hold up better to washing and the intense amount of wear I will subject these garments to if they turn out how I hope. I ordered the lining fabric from Itokri, which ships gorgeous Indian fabrics worldwide. I’d purchased quite a bit of yardage from them in the past and had been happy with the quality.
Waistcoat Pattern Selection and Wearable Toile
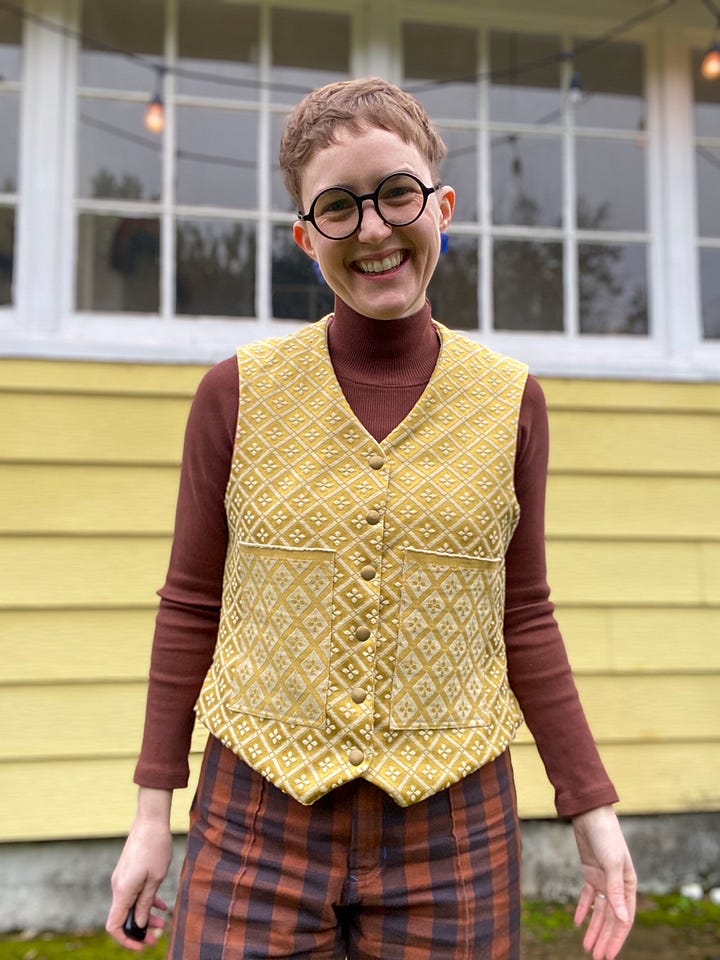
For the vest, I went with the Miller Waistcoat pattern by Merchant & Mills (max bust 55”). Historically, I am an impatient sewist who skips the toile3 step and just gambles on whether or not a given pattern will fit based on the size chart and what other people say about it Instagram4. But in this case I couldn’t risk spending a ton of time embroidering a piece that didn’t fit well, or at all, and I also wanted to practice construction. The waistcoat is the smallest and least complicated of the three pieces, but it’d been a long time since I made a fully lined garment, so I wanted to make sure I nailed it. It turned out to be a fun and relatively straightforward sew, and I like the fit of the vest with no modifications. I’m particularly impressed with the lack of underarm gapping, which is often a fit issue for me with vests and woven tank tops.
Tracking Time
As the project began to take shape last November, I decided I would do my best to track all time and money spent. The first entry in the “time” tab of my tracking sheet is from November 15, 2024, when I ordered fabric swatches, purchased sewing patterns, and then sent them out for printing. As of this writing in late January, the total hours is now nearly 40. The first twelve were spent sourcing materials and making the wearable toile, with the remaining 28 spent on the back of the vest.
Waistcoat Embroidery
From the beginning, I knew I didn’t want to prescriptively plan out what to embroider on the suit. The embroidery is the creative beating heart of the project, and to keep it interesting for myself, I need to design as I go, reflecting my evolving ideas and increasing skill level.
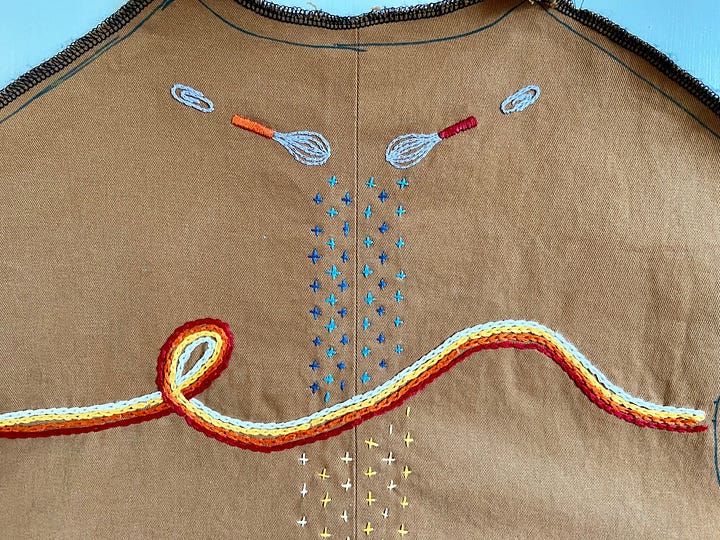
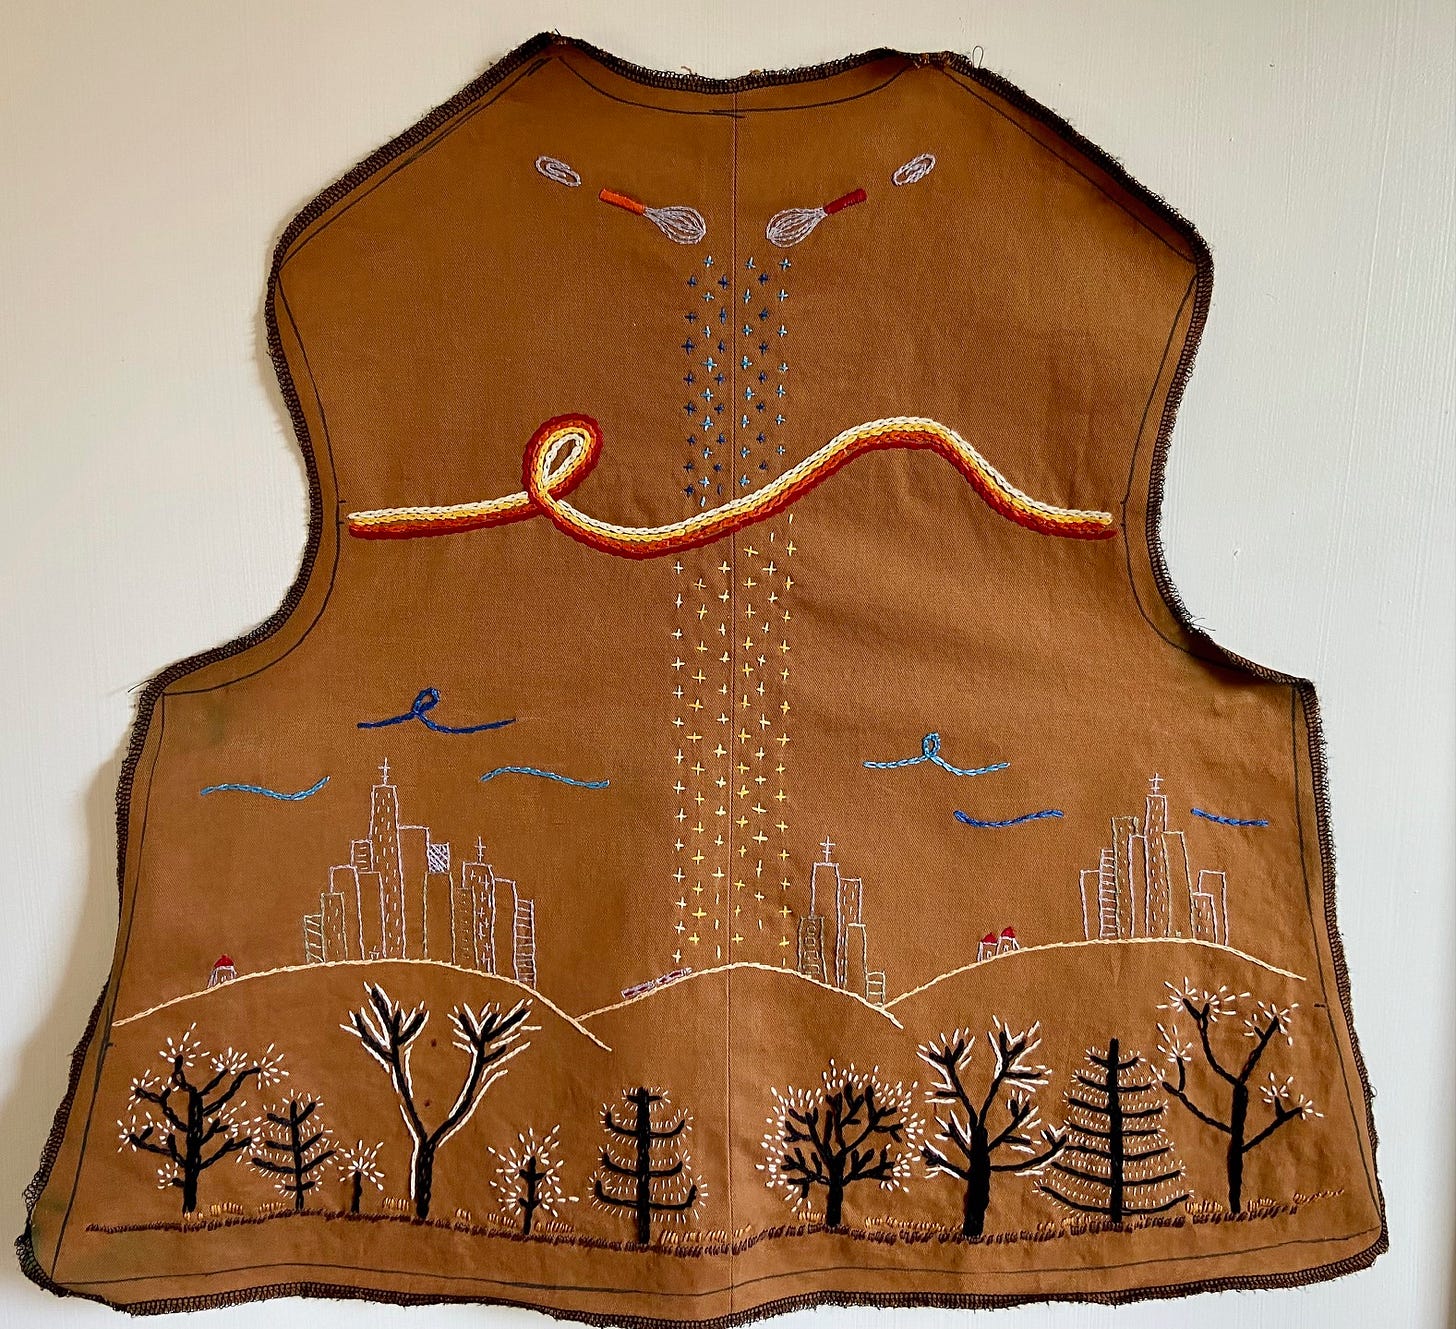
I began with the big, looping chain-stitched line across the back. The yellow thread I used first came from the bargain bin at a local craft store, and I immediately learned why it wasn’t on the rack with the regular-price embroidery floss. It frayed and snagged easily, and kept making ugly clumps when I tried to pull it through the fabric. I would make a few loops of a chain and then need to start over because my thread was too knotted to continue. Uh oh. Perhaps a year-long handwork project would not be so relaxing after all, I thought. But I slowed down and made it through the first chain, and then switched to a much nicer orange thread that restored my faith in the feasibility of the project.
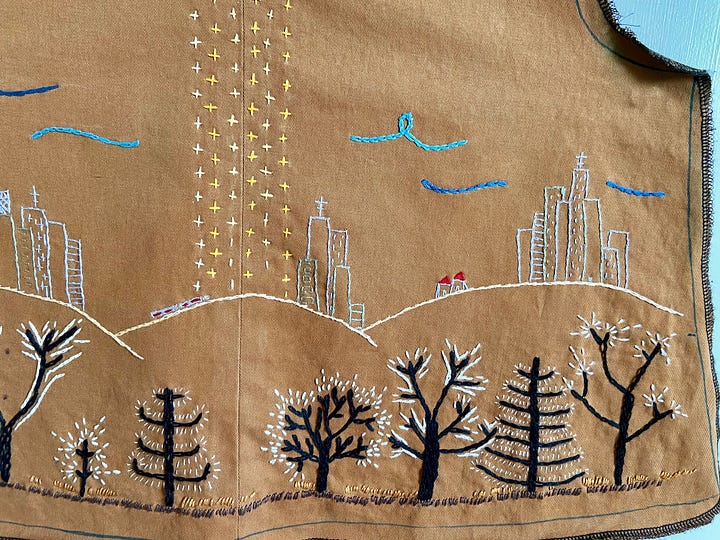
I then proceeded to the whisks and paper clips by the neckline, both from Yumiko Higuchi patterns. As I worked on the neckline, I devised the design for the rest of the back. I imagined a black and white forest along the bottom, with a cityscape rising up behind it. Slowly, over the next month, this is what I embroidered.
I finished with a stripe of sashiko-style crosses down the spine. I originally planned to fill the entire negative space with crosses, but decided it would overwhelm the delicate gray cityscape, so I stopped after 6 rows.
Estimating labor costs
A few years ago, there was a small Instagram trend among some hobby sewists, including myself, to include a materials and labor breakdown with posts about garments they had just finished. I always love seeing these breakdowns, as they demystify the labor of garment making.
The direct, hands-on labor (28 hours) for the vest so far would cost:
$674.52 at $24.09/hour, which is what the MIT living wage calculator names as the minimum livable wage in my state for my household makeup5
$446.60 at $15.95/hour, which is the current minimum wage for the Portland, Oregon metro area where I live
$203 at $7.25/hour, the current federal minimum wage
$25.76 at $238/month6, the estimated minimum livable wage in urban Bangladesh, where many of the world’s lowest-paid garment workers reside.
$12.04 at $113/month, the actual current minimum wage in Bangladesh. According to the Clean Clothes campaign, “no major brand can prove all workers in their supply chain earn a living wage.”
Of course, hand embroidery is not a common feature of mass-produced clothing these days precisely because it is so time-intensive. I am also pretty slow and by no means a professional, and I do not intend to sell this vest. So this is more of a thought exercise than a practical pricing guide.
Next Steps
My next steps are to cut out the front pieces of the vest and prepare them for embroidery. I also need to make a toile of the pants.
I’ll post periodic updates of the project with additional time and materials breakdowns, lessons learned, embroidery history deep dives, etc., so follow along for more!
This is quite a bit more yardage than I should need for for the three pieces of the suit. However, I wanted extra to account for possible mistakes or additional future pieces (like shorts or a hat!)
Amazingly (and perhaps ominously), the About Us page for SellFabric.com contains a single closing parenthesis. My experience ordering from them was totally fine though!
A toile (also called a muslin), for the uninitiated, is a mock-up garment that one makes first to test fit and make any necessary pattern adjustments. It’s made from cheap fabric, traditionally cotton muslin, and lacks finished seams and other details. A wearable toile involves making the entire garment including lining, interfacing, ties, and snaps in this case, and it’s usually made out of a fabric that is not as expensive as the final one intended for the garment but is nicer than cotton muslin. If I had been truly responsible in this case, I would have first made a true muslin, then this wearable one, then the final actual garment.
Not great, I know! I’ve definitely been burned before
I fudged this a little and went with the value for 2 adults and 1 child living in the household, with both adults working. It’s tricky to map it exactly to my household because in reality I work full time and my partner freelances part time (less than half time). The living wage for just one adult working in this household makeup is much higher—$39.87/hour
To calculate the hourly wage for workers in Bangladesh, I conservatively estimated a 60 hour work week, though many textile workers likely exceed this.


This is amazing documentation of a major protect It’s already so beautiful and personal
This is going to be delightful! I have Yumiko Higuchi’s Zakka Emroidery book and have spent way less time than you have attempting to embroider in that style, with way less success. It definitely takes some patience. Thank you for using various hourly wages for the labor calculations and for your newsletter in general.